Part 6 - Installing Tanzu Mission Control Self-Managed
Let's do a quick recap. So far to get ready for the TMC Self-Managed installation we went through the following steps at a high-level. The installation process itself is just a few commands but configuring these pre-requisites correctly will exponentially increase the chances of a successful installation.
- Part 1 - Introduction and Environment Details
- Part 2 - Setting Up Harbor as an Image Registry
- Part 3 - Configuring Okta as Identity Provider
- Part 4 - Configuring Other Prerequisites
- Part 5 - Tanzu Kubernetes Grid Cluster Setup
Download and stage the installation images
Download the installer from the Customer Connect Download Site. This contains the CLI, packages and images that will be used for TMC Self-Managed installation.
Staging Installation Images
Make sure you have added Harbor CA to jumpbox for the successful upload of artifacts. To push the images you can run the command below. In this example I have extracted the bundle downloaded in the previous step to a folder named tmc
tmc/tmc-sm push-images harbor --project harbor.debuggingmode.com/tmc-sm --username admin --password 'Admin!23'
Once the upload finishes you should get a message with the next steps.
Image Staging Complete. Next Steps:
Setup Kubeconfig (if not already done) to point to cluster:
export KUBECONFIG={YOUR_KUBECONFIG}

Create 'tmc-local' namespace: kubectl create namespace tmc-local

Download Tanzu CLI from Customer Connect (If not already installed)

Update TMC Self Managed Package Repository:
Run: tanzu package repository add tanzu-mission-control-packages --url "harbor.debuggingmode.com/tmc-sm/package-repository:1.0.0" --namespace tmc-local

Create a values based on the TMC Self Managed Package Schema:
View the Values Schema: tanzu package available get "tmc.tanzu.vmware.com/1.0.0" --namespace tmc-local --values-schema
Create a Values file named values.yaml matching the schema

Install the TMC Self Managed Package:
Run: tanzu package install tanzu-mission-control -p tmc.tanzu.vmware.com --version "1.0.0" --values-file values.yaml --namespace tmc-local
Installing TMC Self-Managed
Create tmc-local namespace
Add TMC Self-Managed Package Repository
- Make sure you have added the Harbor CA certificate to
KappControllerConfig
tanzu package repository add tanzu-mission-control-packages --url "harbor.debuggingmode.com/tmc-sm/package-repository:1.0.0" --namespace tmc-local
Verify Package Repository Reconciliation
tanzu package repository list -n tmc-local

  NAME                            SOURCE                                                             STATUS
  tanzu-mission-control-packages  (imgpkg) harbor.debuggingmode.com/tmc-sm/package-repository:1.0.0  Reconcile succeeded
Self-Signed CAs
We will need the CA for Harbor and the self-signed ClusterIssuer for configuring TMC. We are going to merge these both in a single file for ease of configuration.
kubectl get secret -n cert-manager tmcsm-issuer -o=jsonpath="{.data.ca\.crt}" | base64 -d > $HOME/trusted-ca.pem
cat harbor-ca.crt >> $HOME/trusted-ca.pem
Create values.yaml file
- You can generate default
values.yamlfile using
tanzu package available get "tmc.tanzu.vmware.com/1.0.0" --namespace tmc-local --default-values-file-output default.yaml
- To get the definition and details about each of the parameters below you can use
Create a template file
cat <<EOF > $HOME/tmcsm-values-template.yaml
clusterIssuer: "tmcsm-issuer"
contourEnvoy:
  serviceType: "LoadBalancer"
  serviceAnnotations:
    ako.vmware.com/load-balancer-ip: "192.168.50.20"
dnsZone: "tmc.debuggingmode.com"
harborProject: "harbor.debuggingmode.com/tmc-sm"
minio:
  password: "Admin!23"
  username: "root"
oidc:
    clientID: "11111111111111"
    clientSecret: "222222323211sw1awe12sa12s3se"
    issuerType: "pinniped"
    issuerURL: "https://dev-11111.okta.com/oauth2/default"
postgres:
  userPassword: "Admin!23"
  maxConnections: 300
telemetry:
  ceipAgreement: false
  ceipOptIn: false
  eanNumber: ""
trustedCAs:
  trusted-ca:
EOF
yq eval '.trustedCAs.trusted-ca = "'"$(< $HOME/trusted-ca.pem)"'"' \
$HOME/tmcsm-values-template.yaml > $HOME/tmcsm-values.yaml
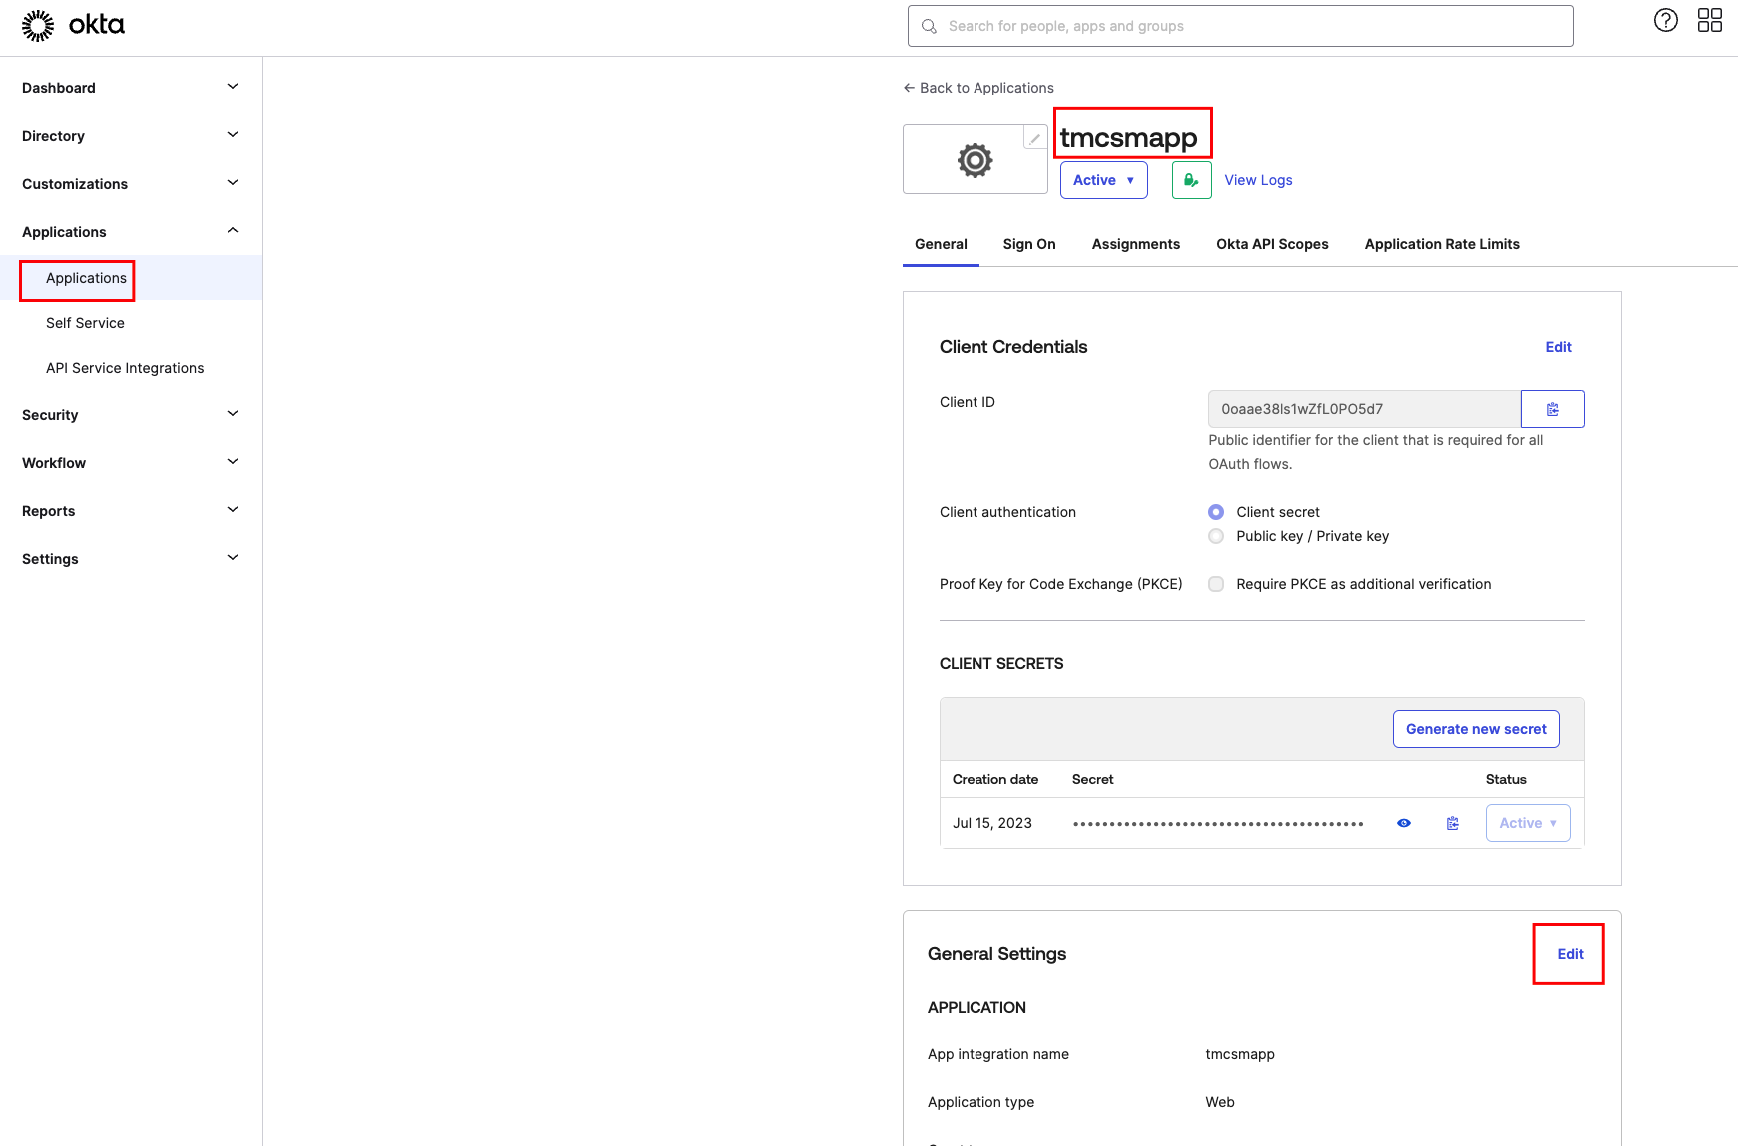
Update Okta Redirect URI
In the Okta portal navigate to your Application, Edit the General Settings and update the Sign-In Redirect URI to https://pinniped-supervisor.<yourdnszone>/provider/pinniped/callback if not already done so

Install the TMC Self-Managed Package
tanzu package install tanzu-mission-control \
-p tmc.tanzu.vmware.com --version "1.0.0" \
--values-file tmcsm-values.yaml --namespace tmc-local
Verify Installation
tanzu package installed list -n tmc-local

  NAME                          PACKAGE-NAME                                       PACKAGE-VERSION  STATUS
  contour                       contour.bitnami.com                                12.1.0           Reconcile succeeded
  kafka                         kafka.bitnami.com                                  22.1.3           Reconcile succeeded
  kafka-topic-controller        kafka-topic-controller.tmc.tanzu.vmware.com        0.0.21           Reconcile succeeded
  minio                         minio.bitnami.com                                  12.6.4           Reconcile succeeded
  pinniped                      pinniped.bitnami.com                               1.2.1            Reconcile succeeded
  postgres                      tmc-local-postgres.tmc.tanzu.vmware.com            0.0.46           Reconcile succeeded
  postgres-endpoint-controller  postgres-endpoint-controller.tmc.tanzu.vmware.com  0.1.43           Reconcile succeeded
  s3-access-operator            s3-access-operator.tmc.tanzu.vmware.com            0.1.22           Reconcile succeeded
  tanzu-mission-control         tmc.tanzu.vmware.com                               1.0.0            Reconcile succeeded
  tmc-local-monitoring          monitoring.tmc.tanzu.vmware.com                    0.0.13           Reconcile succeeded
  tmc-local-stack               tmc-local-stack.tmc.tanzu.vmware.com               0.0.17161        Reconcile succeeded
  tmc-local-stack-secrets       tmc-local-stack-secrets.tmc.tanzu.vmware.com       0.0.17161        Reconcile succeeded
  tmc-local-support             tmc-local-support.tmc.tanzu.vmware.com             0.0.17161        Reconcile succeeded
Access TMC Self-Managed UI

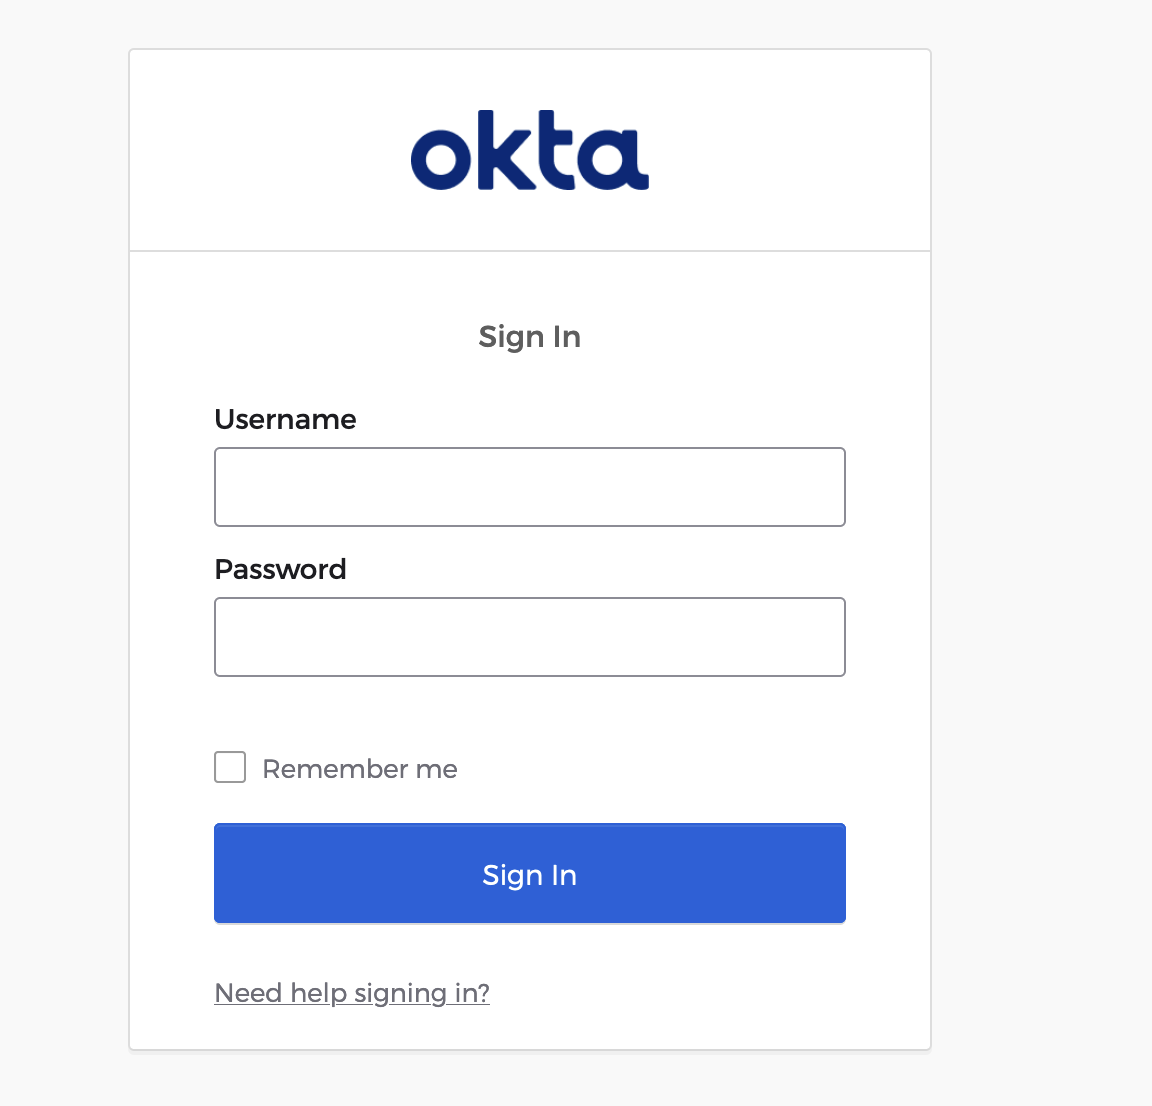
- After
Sign Inyou will be redirected to the Okta UI. Here you will use the user created under the section Creating Admin User - Make sure for the first time login you use the user which is part of
tmc:admingroup
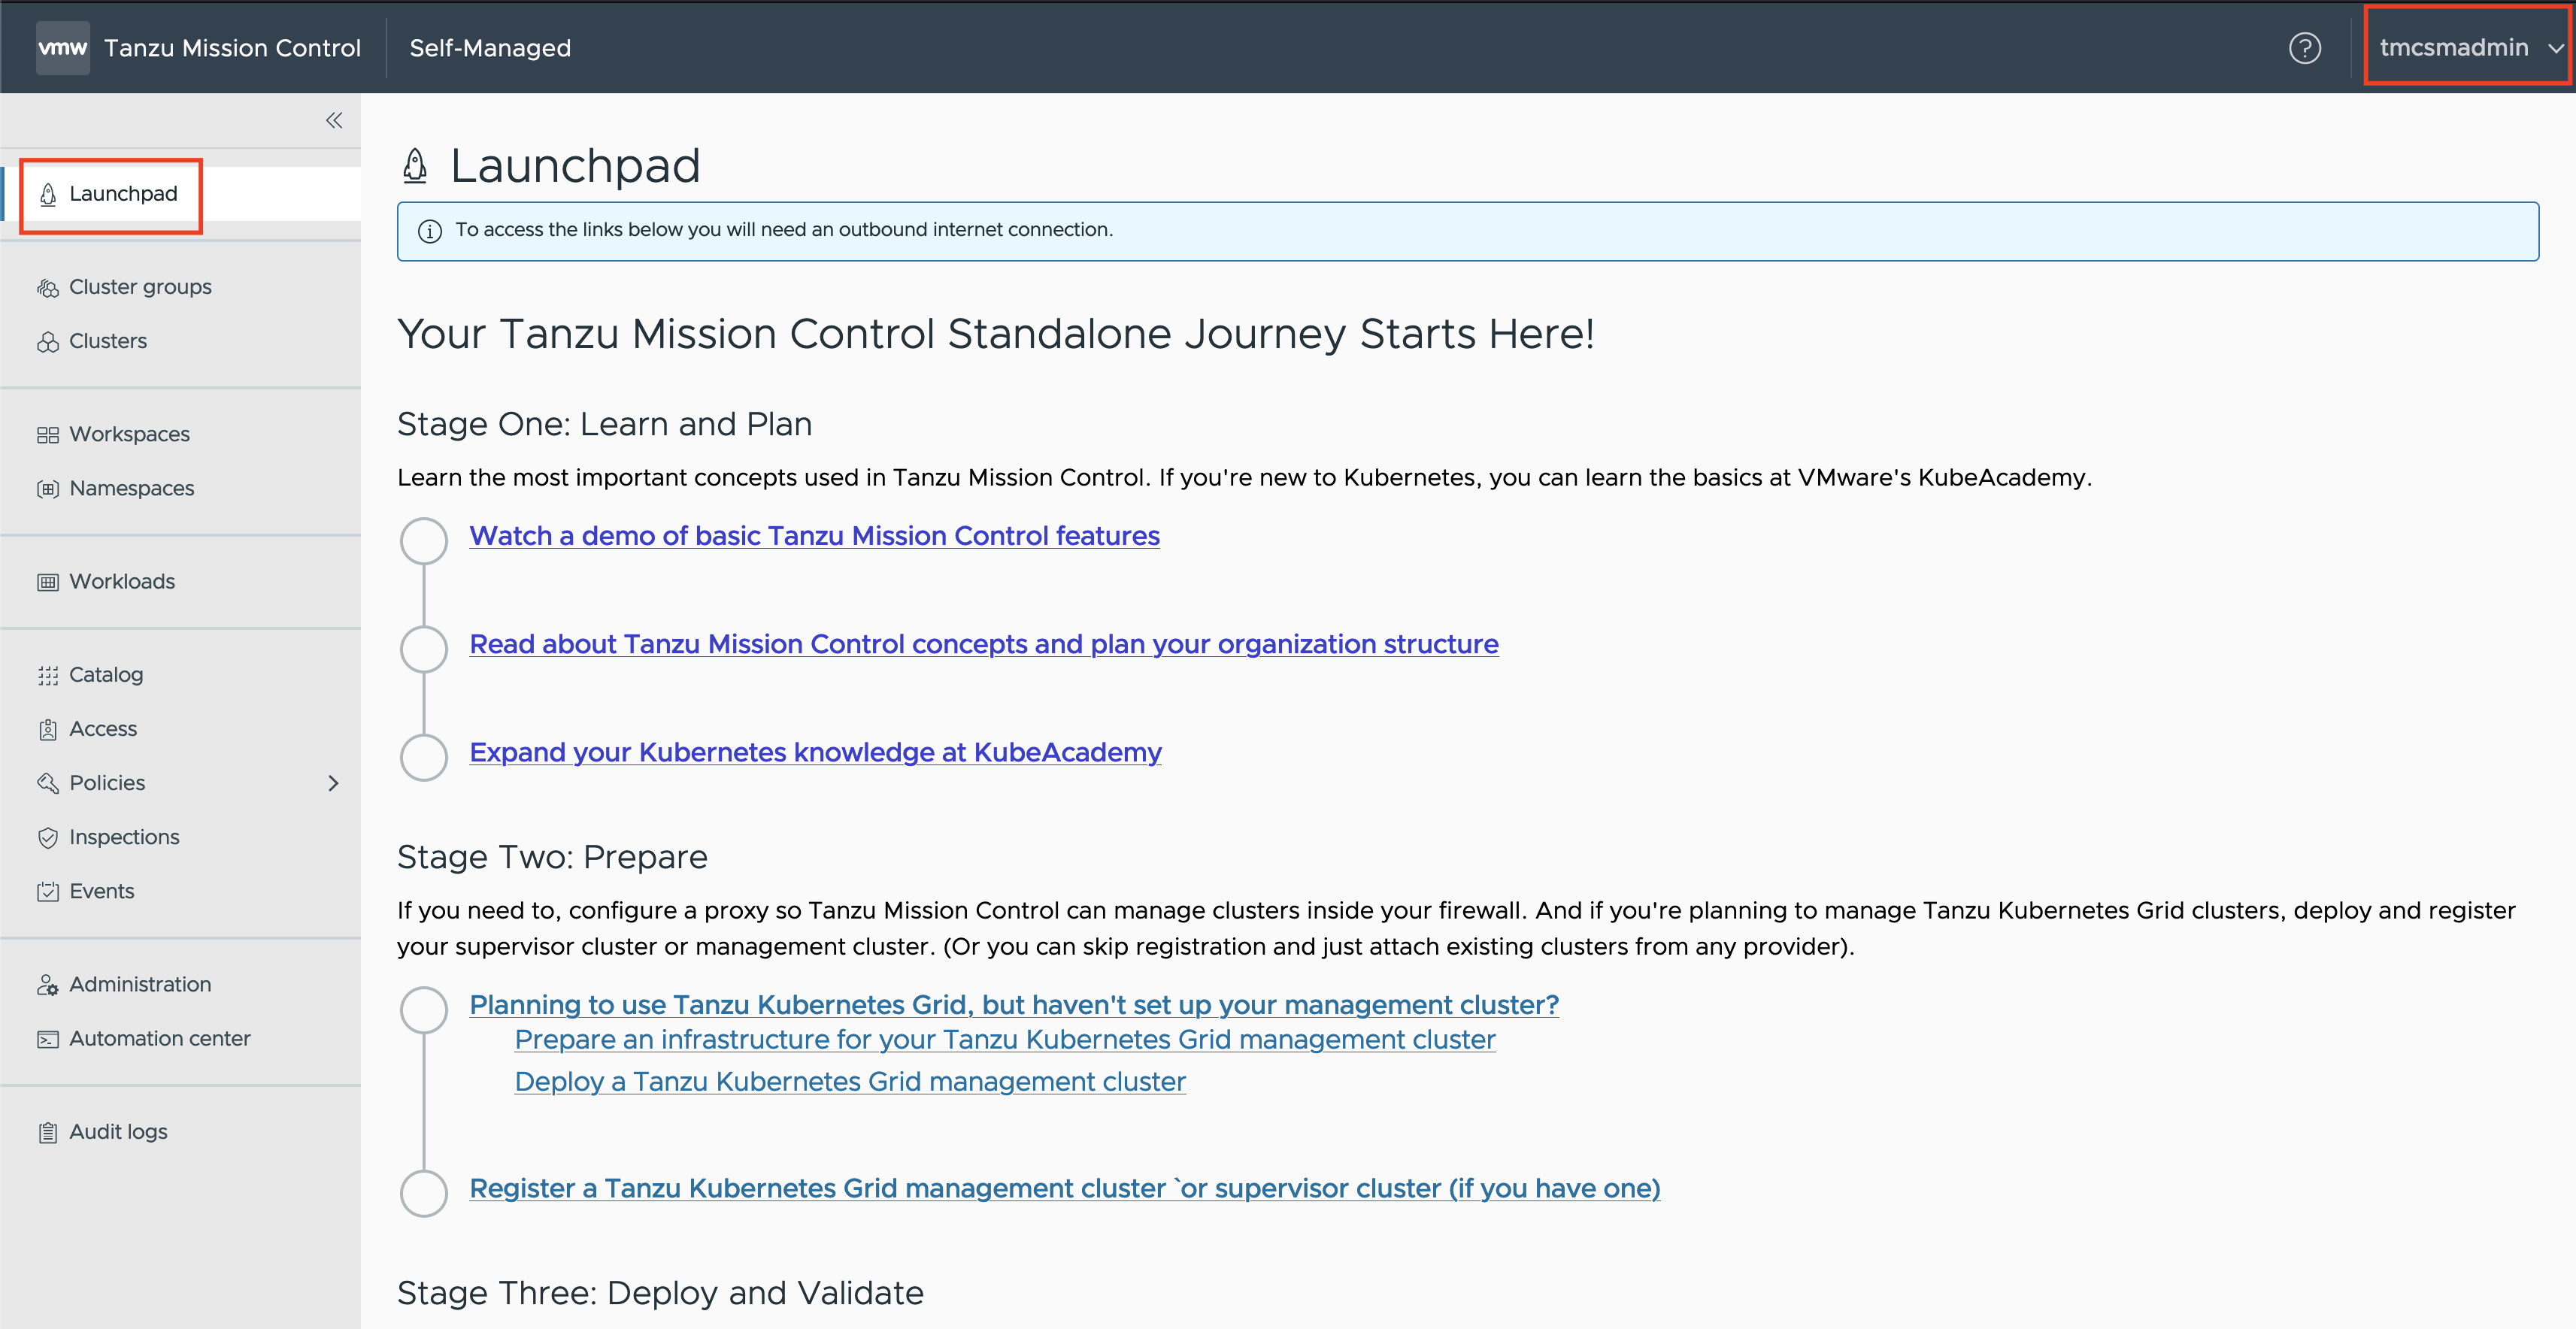
Launchpad
After successful login, you will see the Launchpad page in TMC. This marks the successful installation of TMC Self-Managed.