Part 3 - Configuring Okta as Identity Provider
Installing Tanzu Mission Control Self-Managed Series
- Part 1 - Introduction and Environment Details
- Part 2 - Setting Up Harbor as an Image Registry
- Part 3 - Configuring Okta as Identity Provider
- Part 4 - Configuring Other Prerequisites
- Part 5 - Tanzu Kubernetes Grid Cluster Setup
- Part 6 - Installing Tanzu Mission Control Self-Managed
TMC Self-Manged in the initial release does not provide an in-built identity provider. It manages user authentication using Pinniped Supervisor as the identity broker and requires an existing OIDC-compliant identity provider. To fulfill this requirement we will be using Okta.
Signing Up for a free Okta Developer Account
If you want to use Okta as an identity provider but do not have an organizational or existing account, you can leverage an Okta developer account. Okta provides a free account that should give you the basic functionalities required to test the TMC Self-Managed integration. Leverage this option only for test or learning purposes.
To achieve this you can visit the Okta developer portal and use one of the below options
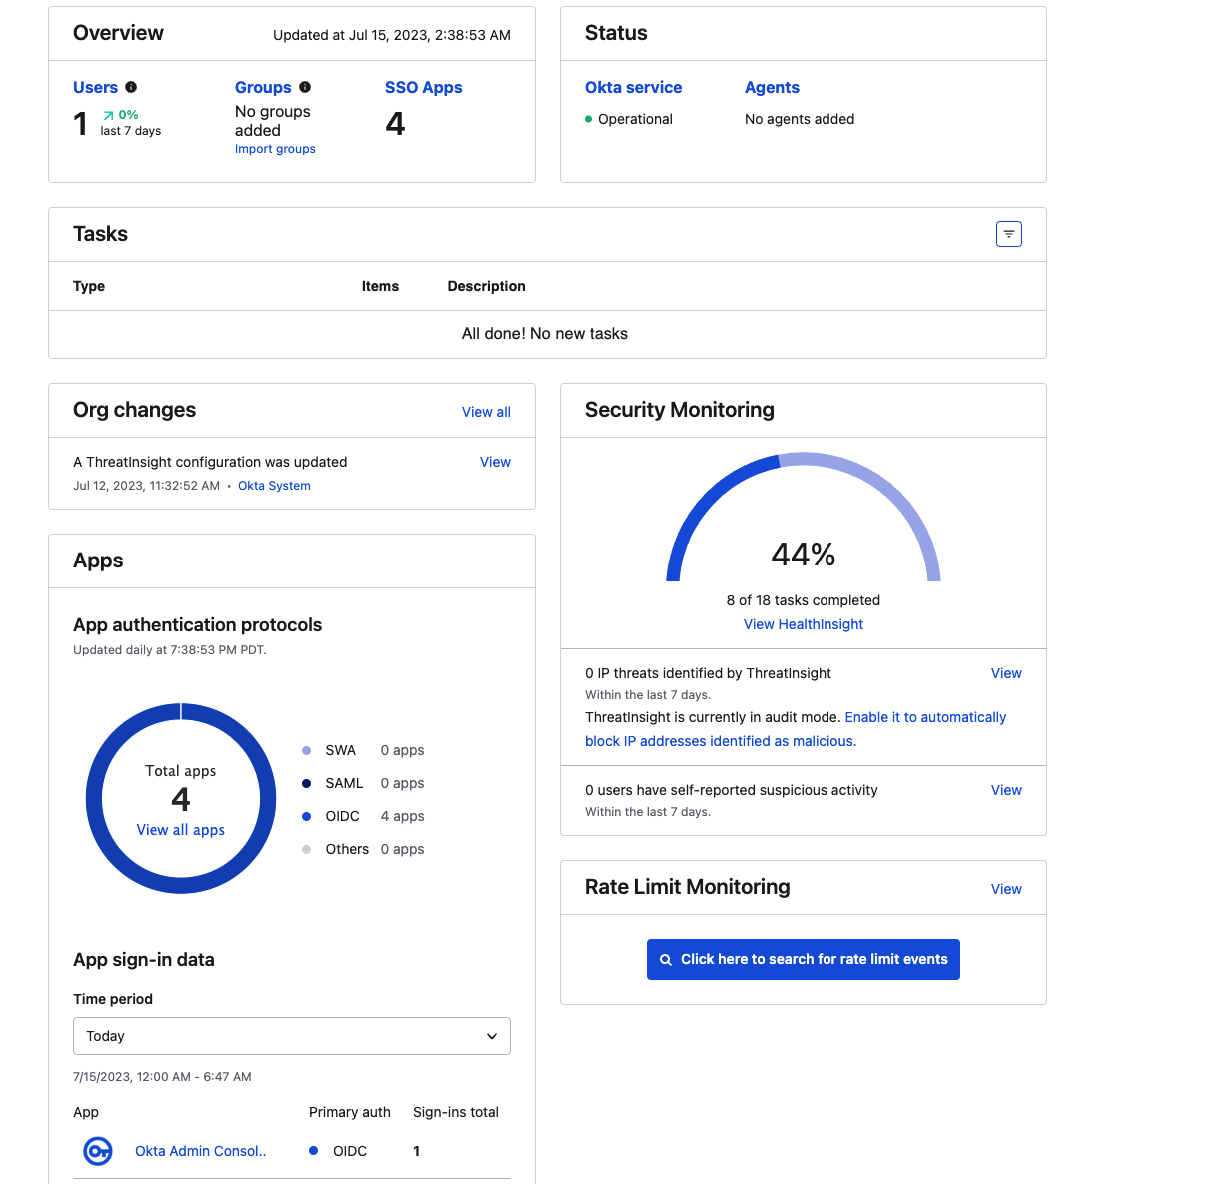
After successful login, you can navigate to the Dashboard and you can see an overview of your account.
Creating Admin and Member Groups
Permissions in TMC is an important topic and an important pre-requisite when preparing your identity provider to work with TMC Self-Managed. For a detailed guide on permissions, you can refer Access Control topic in the TMC documentation.
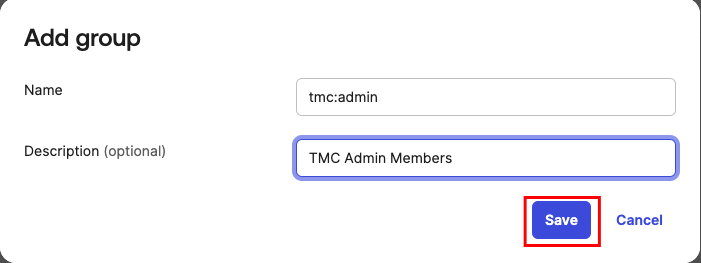
For the context of installation specifically, we need to create two groups named tmc:admin and tmc:member. Few things to note with groups
- When creating groups the name should be exactly
tmc:adminandtmc:memberas TMC looks for this value specifically in the authentication tokens - Users that you add to
tmc:admingroup will have full root-level access to the objects, including permission to see and edit access policies. - The user that first logs in to Tanzu Mission Control Self-Managed must be a member of the
tmc:admingroup
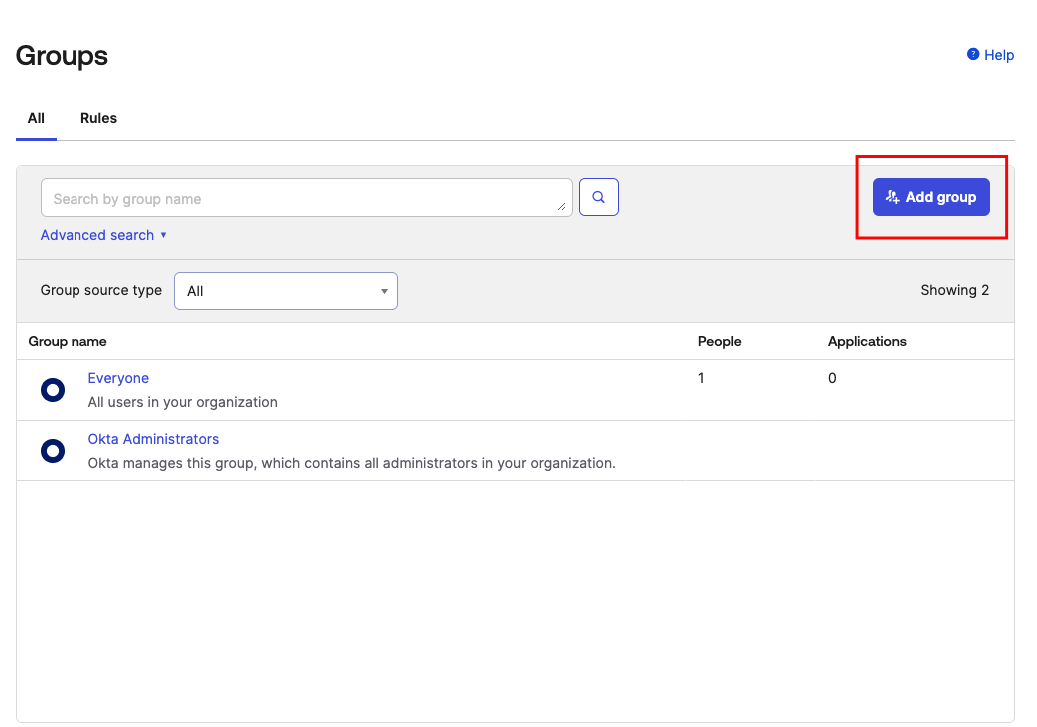
Creating Groups in Okta
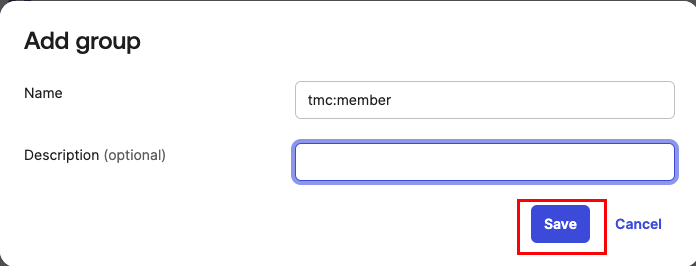
From your Okta Dashboard, you can navigate to Groups and select Add Group

Add tmc:admin group
Add tmc:member group
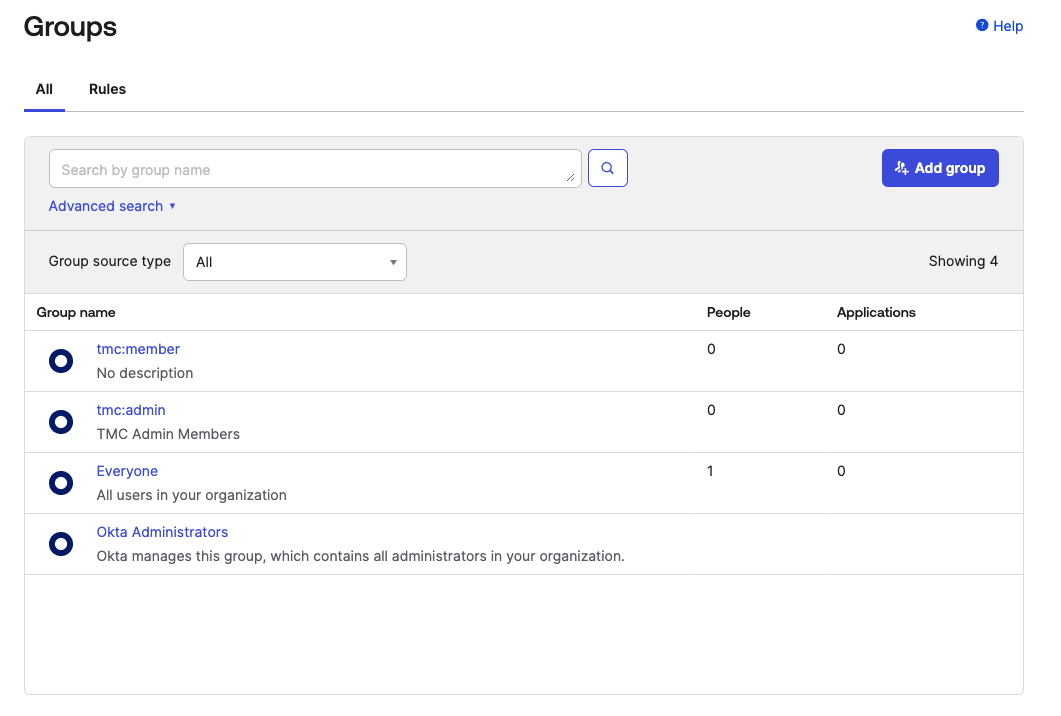
Hit refresh and you should see the newly created groups now.
Creating Admin User
If you already have users in your identity provider or if you want to assign yourself as an administrator you don't need the steps in this section but make sure to add the user you want to be as admin to the tmc:admin group. You can use the steps documented here. As I'm starting with a new account and want a specific user to be a TMC admin I went with this approach.
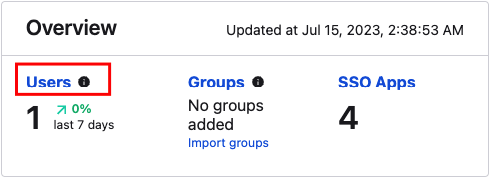
To create a user you can navigate to the dashboard and click Users
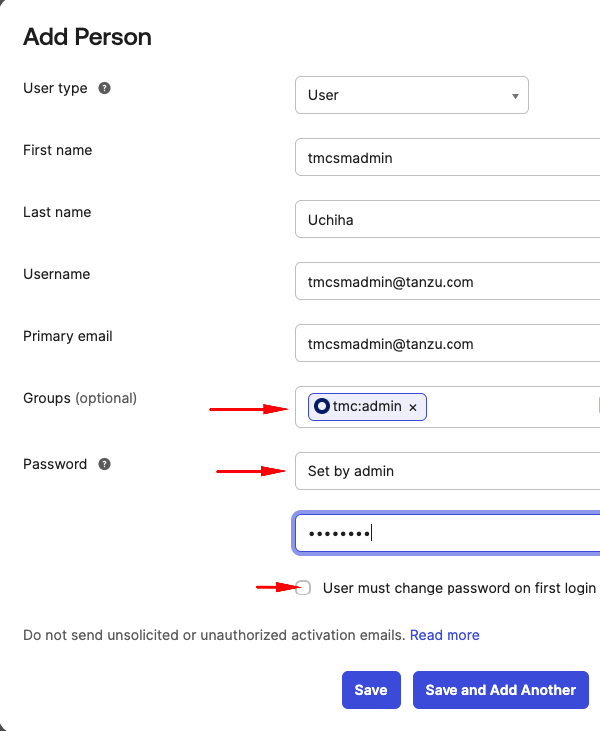
Add Person
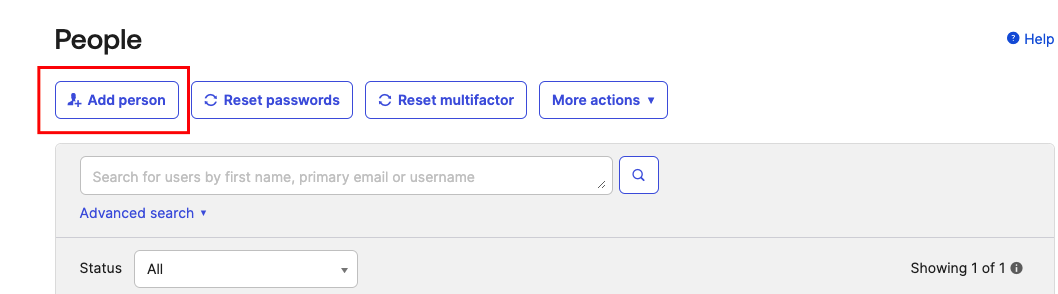
Make sure to add this user or if you are using an existing user you want to give admin access to tmc:admin group. The properties highlighted under the Password section can be different for you based on the level of access you have to your account.
Create an OIDC client application aka App Integration
Next, we move on to creating an OIDC client application. This will be used to verify end-user identity and obtain profile information. In Okta you can do this by
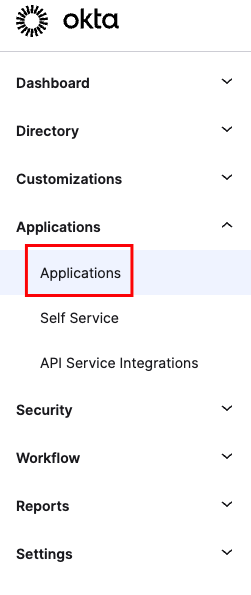
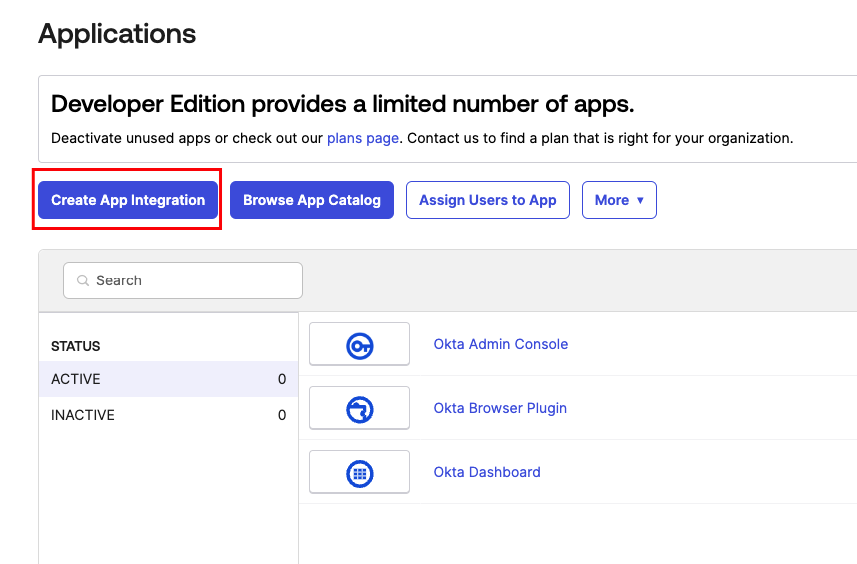
Navigate to the Applications Section and Create an App Integration
Select Sign-in Method and Application Type

After hitting next you will be presented with a New Web App Integration page
Configuring New Web App Integration
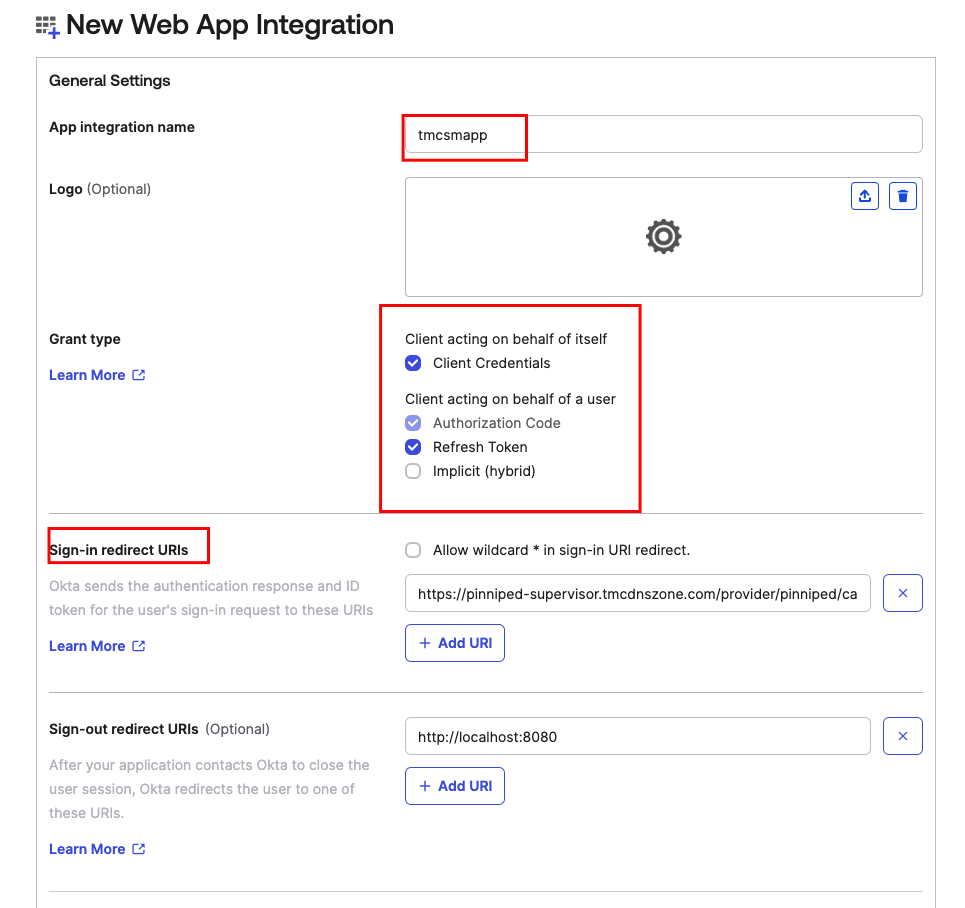
Sign-in redirect URIs
- We are going to use a placeholder value
https://pinniped-supervisor.tmcdnszone.com/provider/pinniped/callbackfor now update this later when we have gone through the DNS zones required for TMC Self-Managed installation and their configuration.
Assign App Integration to Groups
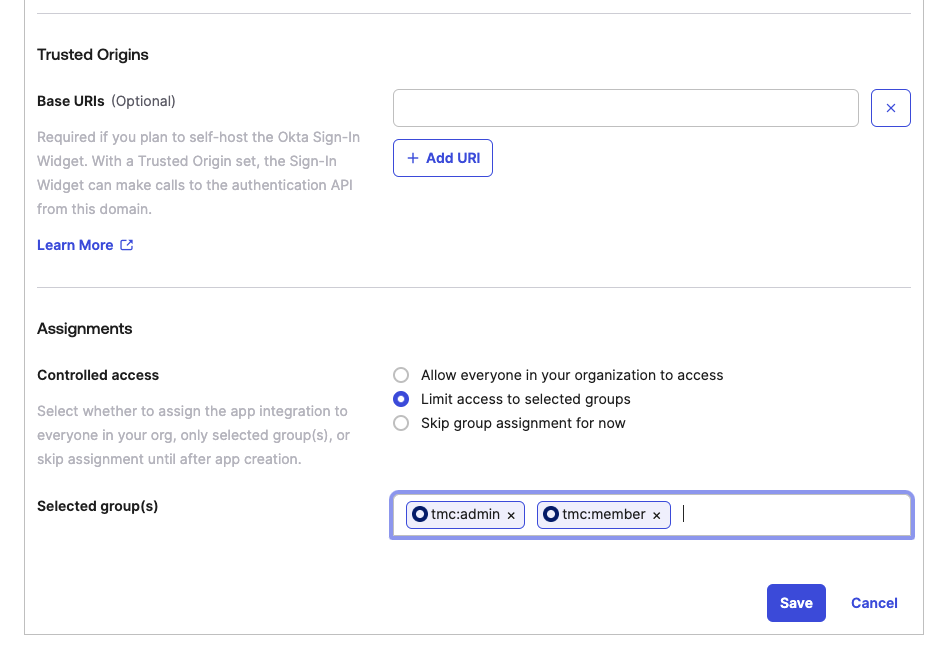
After saving a new app integration will appear under the Applications section. You can use this to review the App integration setting and application related logs.

Add Claims to Authorization Servers
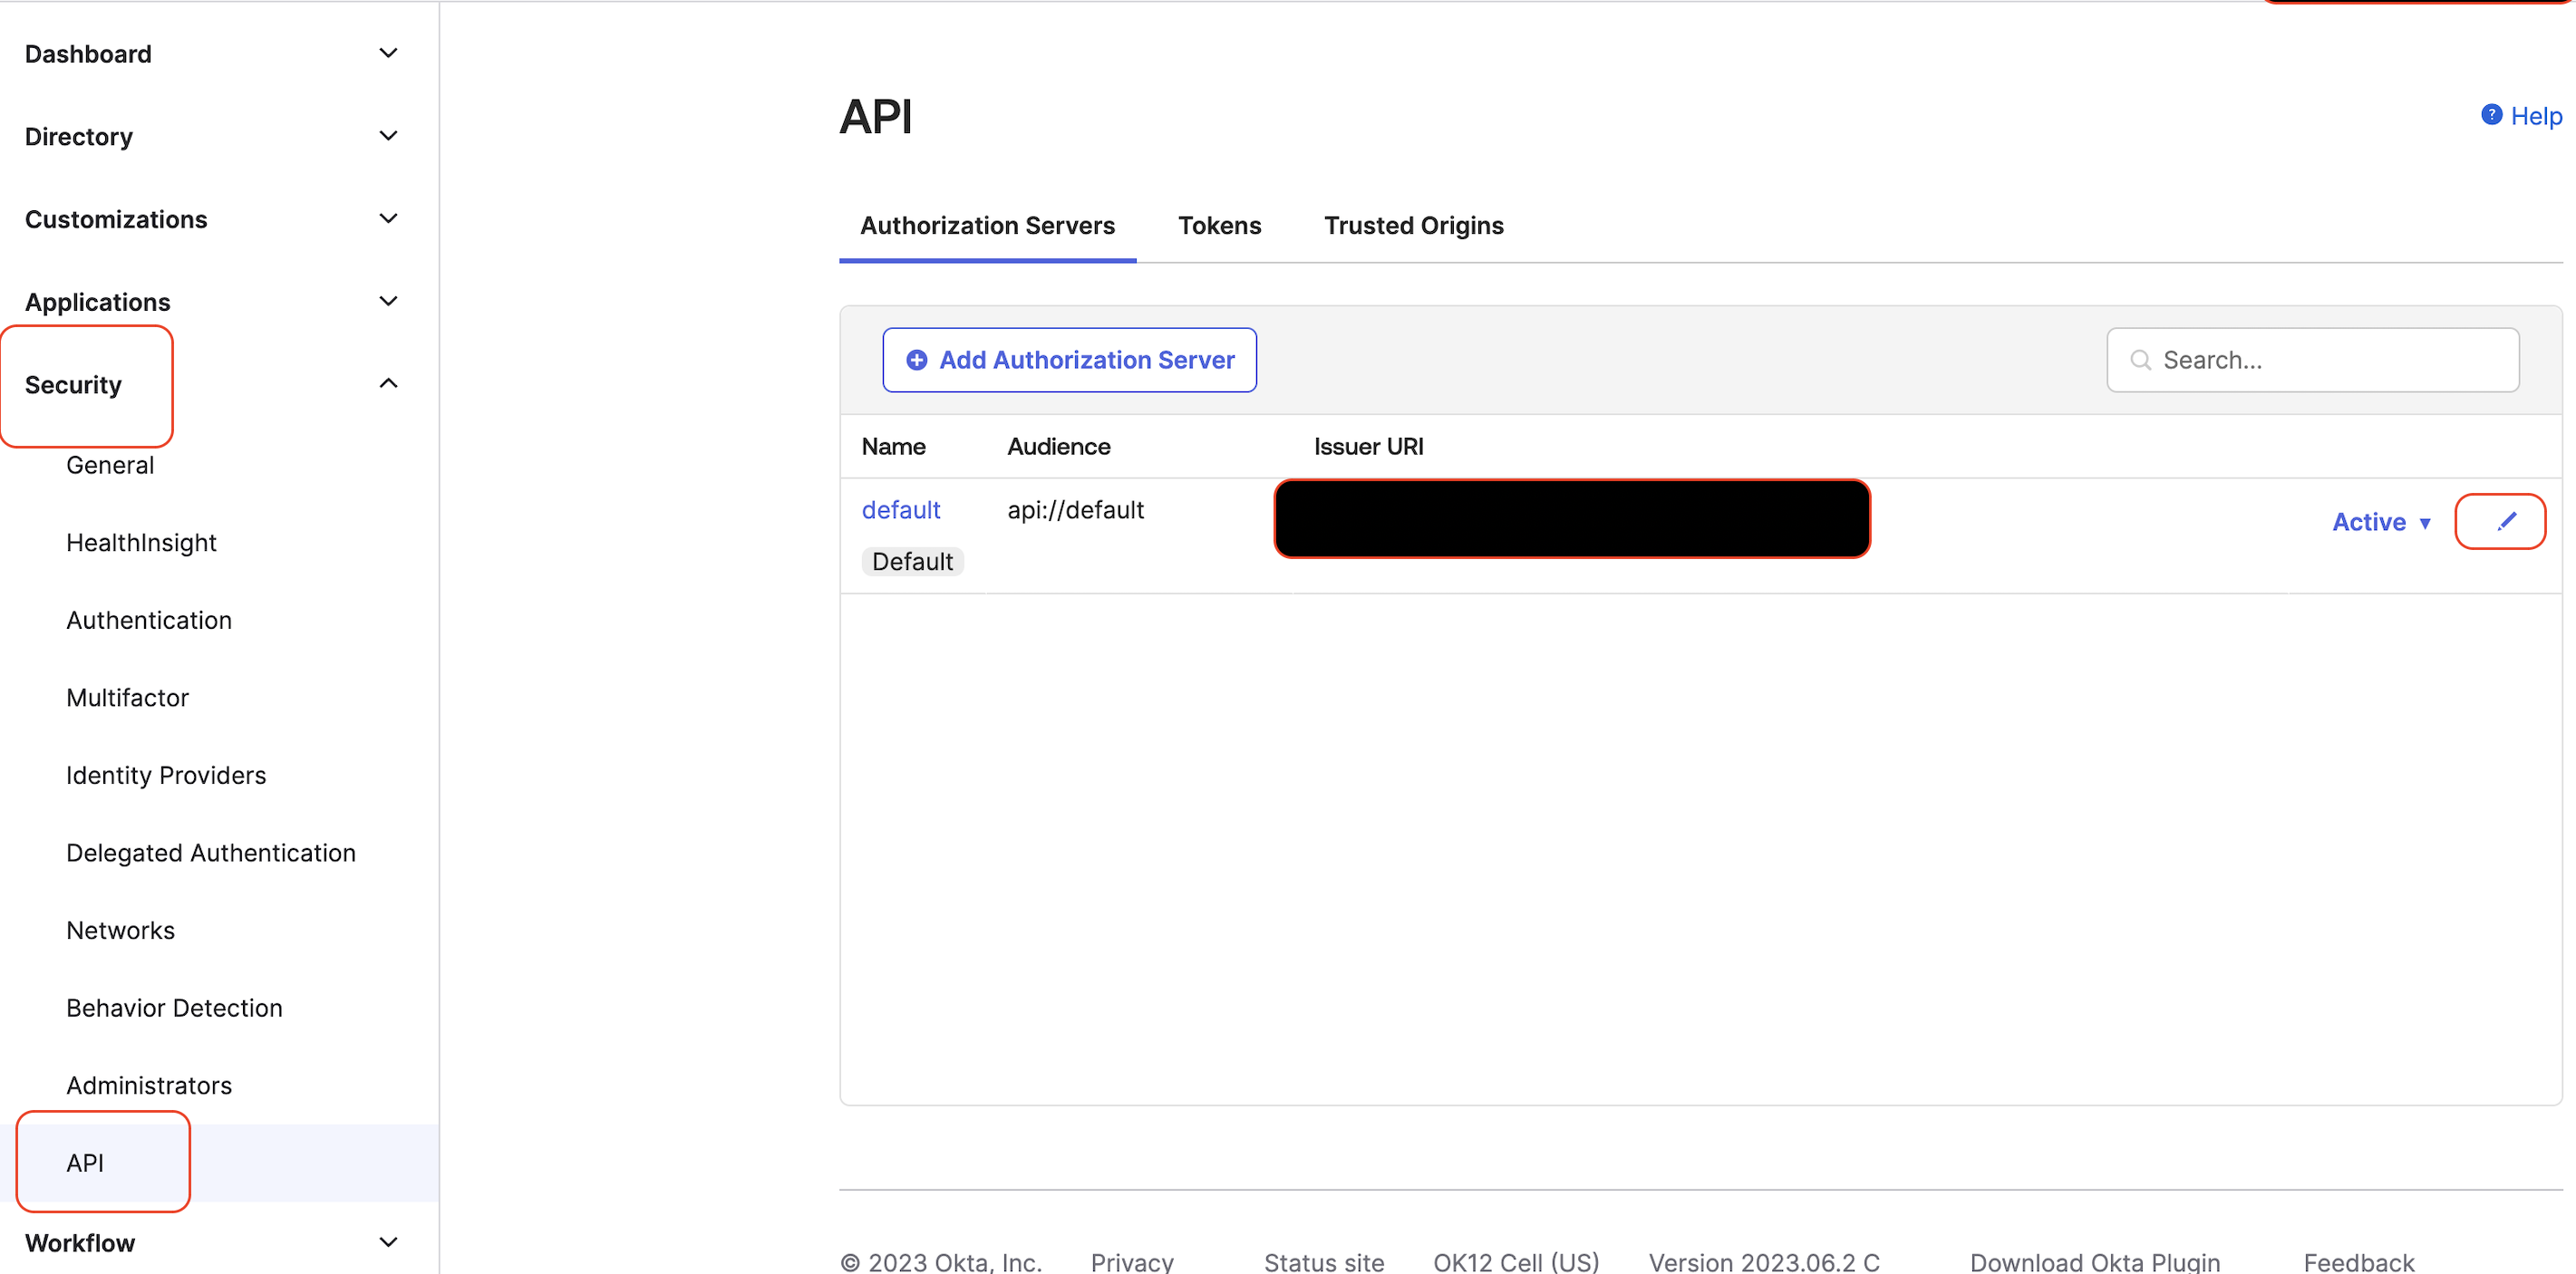
Navigate to the Security -> API and edit the default authorization server.
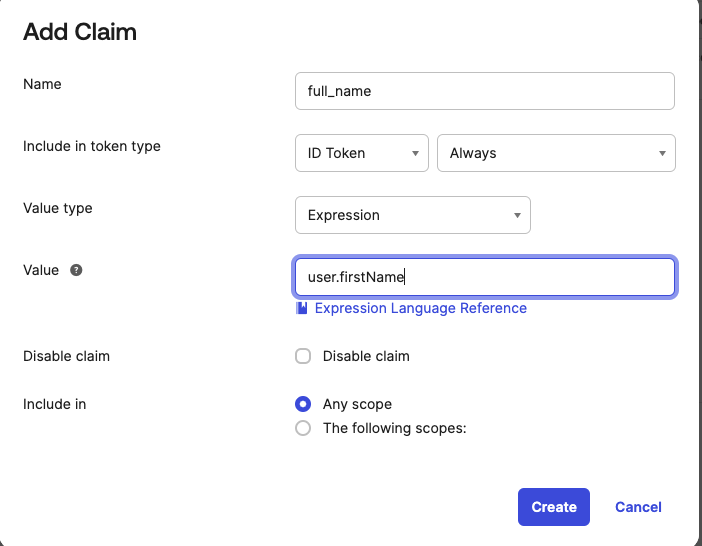
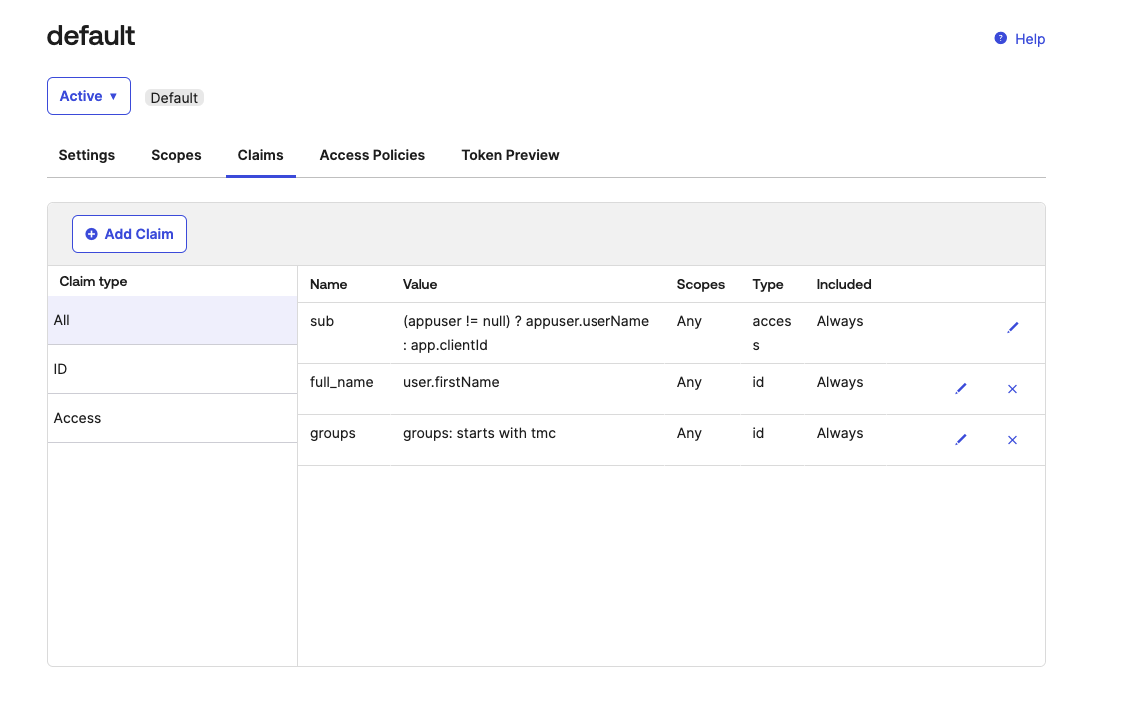
Two ID claims need to be added so that they are available in the token returned to TMC. These are full_name and groups. You can add them after clicking Add Claim
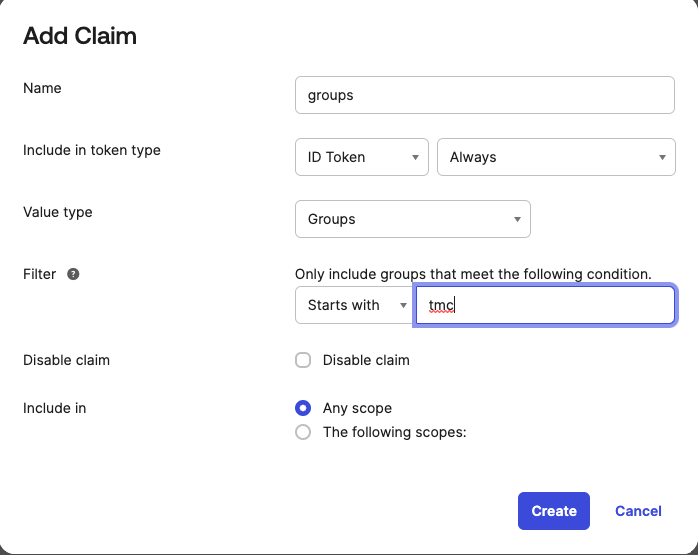
The configuration after adding these two claims should appear similar to
This marks the completion of the Okta configuration that is needed for installing TMC Self-Managed. We will revisit the Okta app integration configuration later to update the Sign-In redirect URIs and gather credentials and configurations.